
A display frame can survive a careful factory drop and still fail in a parcel network, mixed LTL load, distribution centre or international direct-import route. The missing question is not simply how high it was dropped. It is whether the selected test represents the real distribution system and whether the tested product-package combination matches what production will ship.
This guide is for brands, importers, e-commerce teams, retailers, fulfilment operators and OEM packaging engineers. It helps buyers prepare an ISTA test-selection and evidence handover for fragile display frames. It does not reproduce a proprietary procedure, prescribe a laboratory plan, certify a package or replace ISTA, a certified laboratory, carrier, retailer protocol, packaging engineer or the buyer's own risk assessment.
What is the real search intent behind “Which drop test?”
Buyers are trying to connect sales channel, pack size, weight, glazing, handling, vibration, stacking, atmosphere and acceptance criteria. They want to know whether ISTA 1A is enough, whether parcel shipment points to 3A, when LTL points to 3B, how unit loads differ, and whether an Amazon or retailer route uses its own member performance test.
Google Search Central says generative Search can explore related subqueries, while useful expert content remains the foundation. This guide treats testing as a procurement decision rather than a one-line certificate request. Search intent is an editorial inference from current public sources; DOREMI does not claim direct access to AI Overview or AI Mode output.
Draw the distribution route before selecting a test
Start at the final packing station and map every leg: export factory, container, port, deconsolidation, importer warehouse, mixed pallet, distribution centre, retailer, fulfilment centre, parcel carrier, last mile and customer return. Note where cartons are palletized, depalletized, overpacked, opened or shipped individually.
A single SKU may need two plans. Retail replenishment can travel as a unit load while the same product later ships as an individual e-commerce parcel. Testing only the inbound pallet does not represent the outbound parcel; testing only a parcel does not evaluate the export master-carton and pallet system.
Know what the ISTA series are designed to do
ISTA describes 1 Series procedures as integrity screening tests that challenge the product-package combination but are not designed to simulate environmental occurrences. The 2 Series add partial simulation. The 3 Series are general simulations of the damage-producing motions, forces, conditions and sequences found in distribution environments. Member performance tests address particular retailer or carrier systems.
This hierarchy is why “passed a drop test” is incomplete. Ask for the exact procedure and current edition, package category, sample identity, sequence completed, deviations and report. A screening test can be valuable during development without being represented as a complete route simulation.
Use 3A for the parcel question it actually covers
ISTA identifies 3A for individual packaged products weighing 150 pounds or 70 kilograms or less moving through parcel delivery systems, including standard, small, flat and elongated packages by air or ground. Many wall frames are broad and relatively thin, so the package type and dimensional classification matter alongside weight.
Do not select 3A only because the finished frame is below the limit. Confirm that the shipping unit is an individual parcel and that the laboratory applies the correct package category. An overpacked retail carton, multi-pack or unusually long display may need a different classification or route review.
Use 3B for LTL, not as a stronger-sounding 3A
ISTA describes 3B for packaged products commonly shipped through a less-than-truckload system, where freight from different shippers and for different destinations is mixed. That route introduces handling and loading conditions that differ from an individual small-parcel network.
If a large jersey case, display cabinet or consolidated master carton ships by LTL, show the lab the real base, pallet or skid, wrap, straps and orientation. Do not test a convenient loose carton and then apply the result to a palletized LTL configuration that was never represented.
Consider 3E, 3M and other route-specific projects
ISTA lists 3E for unitized loads of similar retail or institutional products shipped by full truckload, and 3M for packaged products prepared for international direct import from Asia-Pacific manufacturing sites to a U.S. distribution or retailer fulfilment centre. Other projects address different geographies and systems.
The right choice depends on the actual route, not the country of manufacture alone. Ask the laboratory to explain why the selected procedure matches the distribution map and whether multiple stages should be assessed separately. Use the current official procedure rather than copying an old buyer template.
Freeze the complete product-package combination
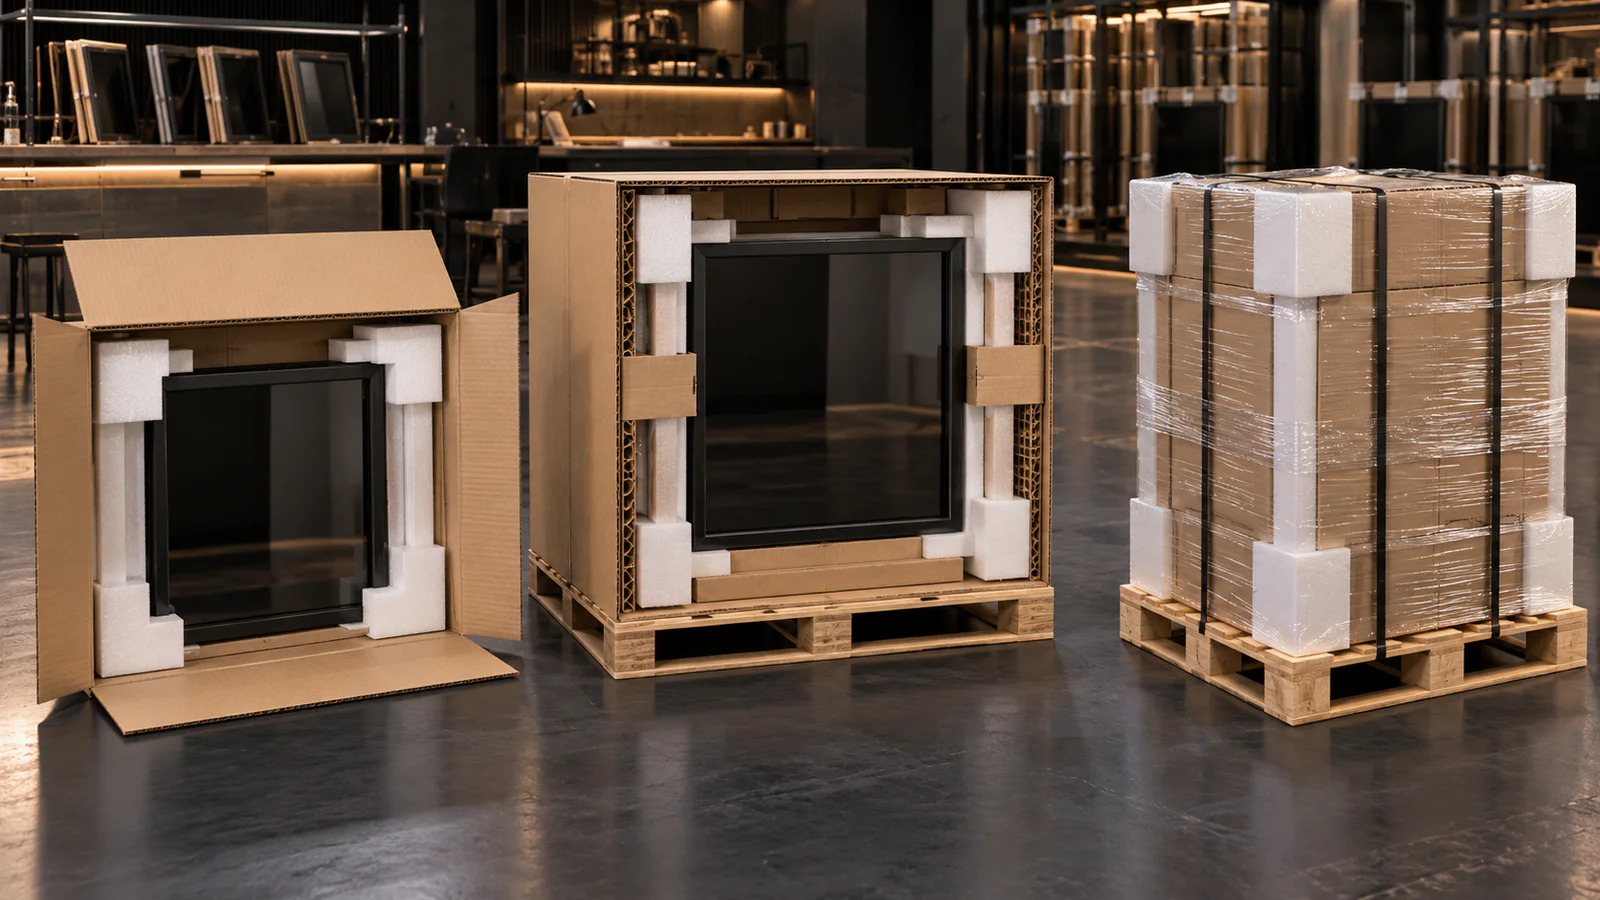
The tested item is not merely a carton design. Record frame SKU, outside dimensions, weight, moulding, glazing, backing, hardware, internal object, finish and assembly. Then record retail box, protective film, face pad, corner blocks, edge protectors, hardware pouch, master carton, dividers, pallet, wrap and straps.
Assign a revision to the complete configuration. Photograph packing order and finished pack on all sides. A report cannot support a later shipment if production quietly changes glazing, frame mass, corner geometry, carton grade or the number of units per master carton.
Select representative worst cases deliberately
A family may contain multiple sizes, finishes and glazing options. The largest frame may be most flexible, the heaviest may stress corners, the smallest may have more empty space, and glass may fail differently from acrylic. There is no universal worst case across every hazard.
Create a family matrix and ask the packaging engineer or lab which variants represent each risk. Record the rationale. If one sample is used to support several SKUs, the report should clearly identify the family boundaries. Do not choose the easiest sample because it fits available lab equipment.
Send production-intent samples
Use normal production parts, adhesives, fasteners, coatings and packaging. Hand-built prototypes with extra tape, thicker foam or specially selected glazing can create evidence that manufacturing cannot reproduce. Mark every sample with SKU, product revision, pack revision, date and lot.
Document its condition before testing. Existing scratches, loose mitres or glazing defects should not be confused with transport damage. If samples are shipped to the lab, agree how their pre-test transport will be handled so that arrival damage does not invalidate the comparison.
Define conditioning from the route and materials
Corrugated board, paper cushioning, wood, adhesives and some plastics respond to temperature and humidity. ISTA procedures can include atmospheric elements depending on the selected test. Tell the laboratory the expected storage and transport conditions, seasonal extremes and whether the package may be exposed before the test sequence.
Do not request an arbitrary “tropical test” as a marketing badge. Agree the condition, duration and rationale with the lab under the current procedure and buyer risk profile. Record the board and cushioning condition when samples are packed and tested.
Protect the failure modes that matter to display frames
Inspect more than catastrophic breakage. Typical buyer concerns include cracked or displaced glazing, corner separation, open mitres, rubbed finish, dented moulding, crushed decorative details, torn backing, loose hangers, shifted jerseys or medals, dust ingress and presentation-pack damage.
Translate these risks into inspection points before testing. Use measurable tolerances where the product specification supports them and clear visual defect definitions where it does not. The laboratory can execute a procedure; the buyer still needs to say what counts as acceptable product after the sequence.
Control glazing as part of the test specimen
Glass, acrylic and other transparent sheets differ in mass, flexibility, edge sensitivity and scratch risk. Record material, thickness, edge finish, protective film, separators and retention method. Do not test acrylic and apply the result to a heavier glass configuration without an approved family rationale.
When glass is used, include a safe post-test inspection and disposal plan. A package can appear intact while a crack remains hidden behind a face pad. The lab and buyer should agree how the package is opened and how broken material is contained.
Prevent hardware from becoming an internal hazard
Hooks, screws, brackets, wire and stands can move during vibration or impact and scratch glazing or artwork. Seal small parts in a controlled pouch, locate it in a defined recess and verify that the pouch remains closed. Photograph the approved position.
For frames with installed mounts, inspect fastener pull-out, looseness and contact marks. For medal and jersey displays, check that the internal object remains positioned. The outer carton can pass while an unsecured accessory damages the presentation inside.
Specify what the report must contain
Ask for laboratory identity, procedure and edition, test date, sample count, product and pack revisions, package category, measured dimensions and weights, conditioning, sequence, equipment, deviations, before-and-after photographs, observations and result against agreed criteria. Certification or laboratory status should be described exactly.
A one-page “PASS” statement is difficult to reuse during a packaging change or retailer review. The goal is traceability: another person should be able to identify what was tested and compare it with the shipped unit without relying on memory.
Do not confuse laboratory performance with a zero-damage promise
ISTA explains that simulation procedures are useful predictive tools. A controlled test does not reproduce every carrier event, packer error, climate, conveyor jam or customer return. It also does not replace ongoing shipment data. Describe a result as evidence for the tested configuration under the named procedure, not a guarantee that every unit will arrive undamaged.
Use pilot shipments and damage records to complement laboratory work. Separate transit damage from manufacturing defects and customer handling. Feed recurring failure locations back into pack design, product construction and fulfilment instructions.
Review failures by mechanism, not only by severity
If a corner opens, ask whether shock reached the frame because cushioning bottomed out, moved or was missing. If glazing scratches, check contact surfaces, loose hardware and vibration. If cartons crush, review stacking, board condition, void and unit-load design. A repair should address the mechanism observed.
Change one controlled variable at a time when practical and document the new revision. Adding more foam everywhere can increase cost, cube and environmental burden without fixing the actual load path. Retest the revised complete system at the level appropriate to the change.
Control packaging changes after a pass
Define changes that require engineering review: carton grade or supplier, flute, dimensions, coatings, corner material, density, face pad, glazing, frame weight, hardware, pack quantity, pallet pattern, straps and packing sequence. Purchasing should not approve an apparently equivalent substitute without checking the test rationale.
Use a redlined BOM and effective lot. The packaging owner decides whether document review, comparison testing or full retest is needed. Preserve the earlier configuration so a failure investigation can identify which revision reached the customer.
Connect the test to fulfilment work instructions
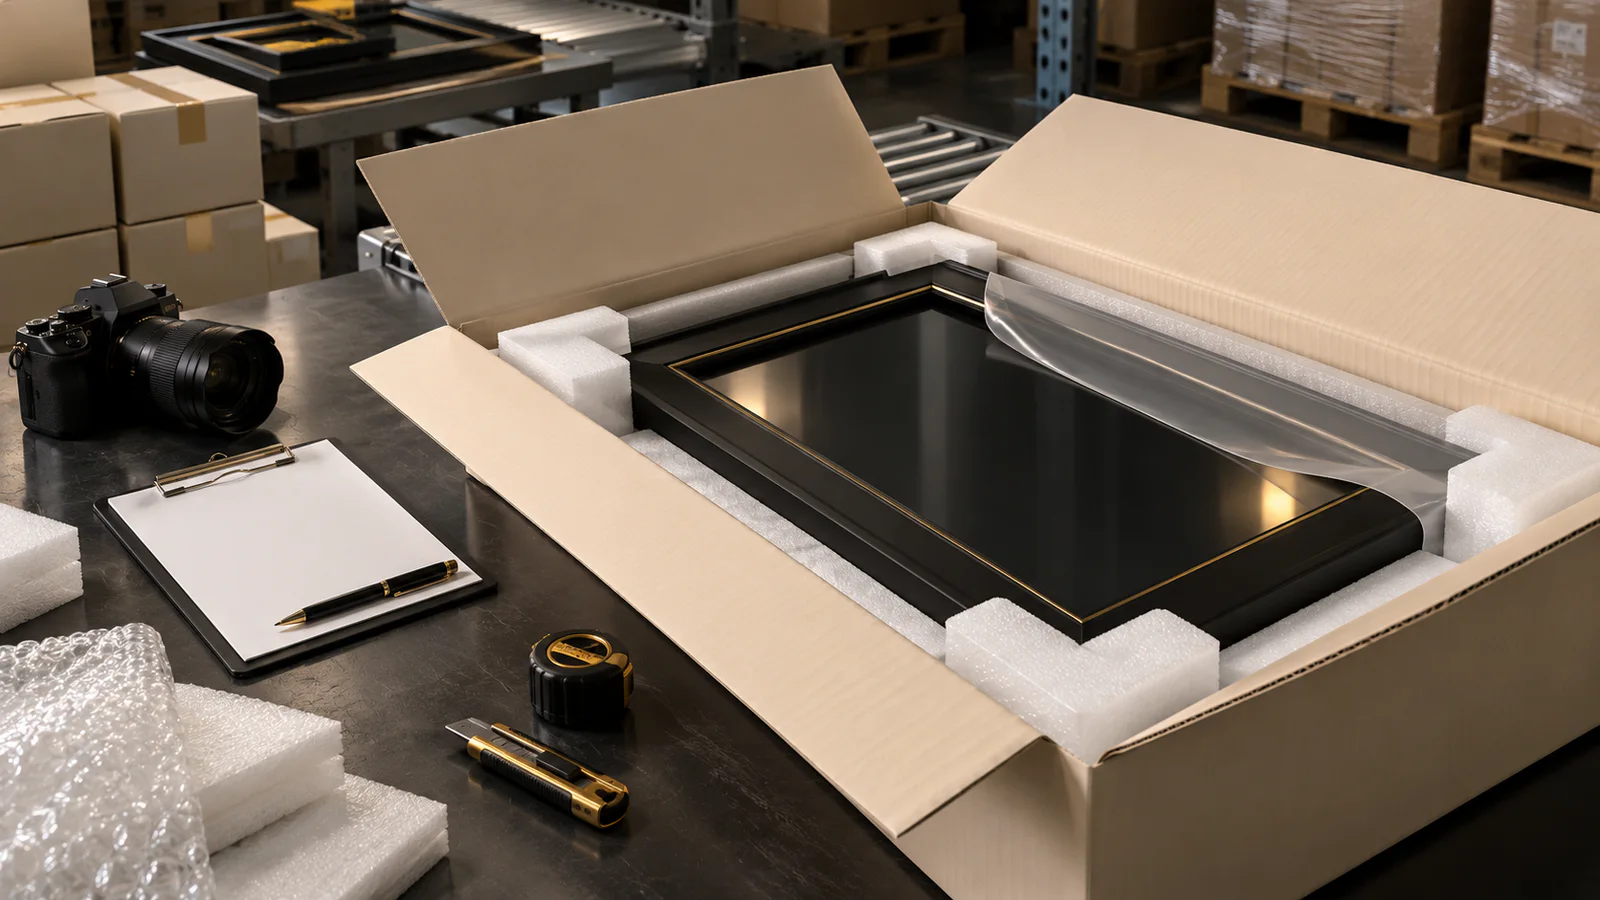
A successful laboratory pack can fail in production if corners are reversed, tape length changes or hardware is placed loosely. Create visual packing instructions with component IDs, quantity, orientation, closure and inspection points. Train operators using a production-intent sample.
Audit early lots and fulfilment repacking. If a marketplace or 3PL adds an overbox, document that layer and determine whether the combined pack was represented. The tested design only has value when the shipping station can reproduce it.
Plan the test in the sourcing calendar
Allow time for production-intent components, sample assembly, lab scheduling, conditioning, testing, report review, corrective design and retest. Do not place the test after the packaging purchase order if a failure could require new tooling or carton dimensions.
Use development screening early, then route-appropriate evidence near design freeze. Keep the launch decision with the buyer's responsible quality and logistics owners. A test date should support a real release gate, not merely fill a vendor onboarding field.
Buyer release checklist
- The end-to-end distribution route is mapped
- Parcel, LTL, full-truckload, unit-load and direct-import stages are separated
- The selected procedure and current edition are recorded
- The laboratory explains route and package-category fit
- Product and complete pack BOMs are revision controlled
- Representative worst cases have a written rationale
- Samples use production-intent parts and packing
- Conditioning reflects the selected procedure and route
- Glazing, finish, corners, hardware and presentation have criteria
- The report contains sample identity, sequence, deviations and photographs
- A pass is not presented as a zero-damage guarantee
- Failure mechanisms drive corrective changes
- Substitutions trigger documented review or retest
- Fulfilment instructions reproduce the tested pack
Questions for the lab and OEM
Ask the lab: Which procedure, edition and package category best match the mapped route? What product and pack information is required? Which variants should represent the family? What conditioning, sample count, deviations, documentation and post-test inspection will be used?
Ask the OEM: Which exact frame and packaging revisions will be tested? Can production reproduce every component and step? Which materials are likely to change? How will lot identity be recorded? What inspection and pilot-shipment data will be kept after release?
Experience scope and project limits
Editorial review: Jessica, Founder & Project Advisor at DOREMI Display. Updated 22 October 2026. Jessica's practical scope covers display-frame RFQs, packaging BOMs, packed samples, production inspections, supplier handovers and change control. DOREMI is not presented as ISTA, a test laboratory, carrier, retailer protocol owner or packaging-certification body.
Use this guide to prepare a test project. The real route, current official procedure, laboratory plan, exact product-package system, buyer criteria, carrier and retailer requirements, qualified engineering and shipment evidence determine whether a packaging programme is adequate.