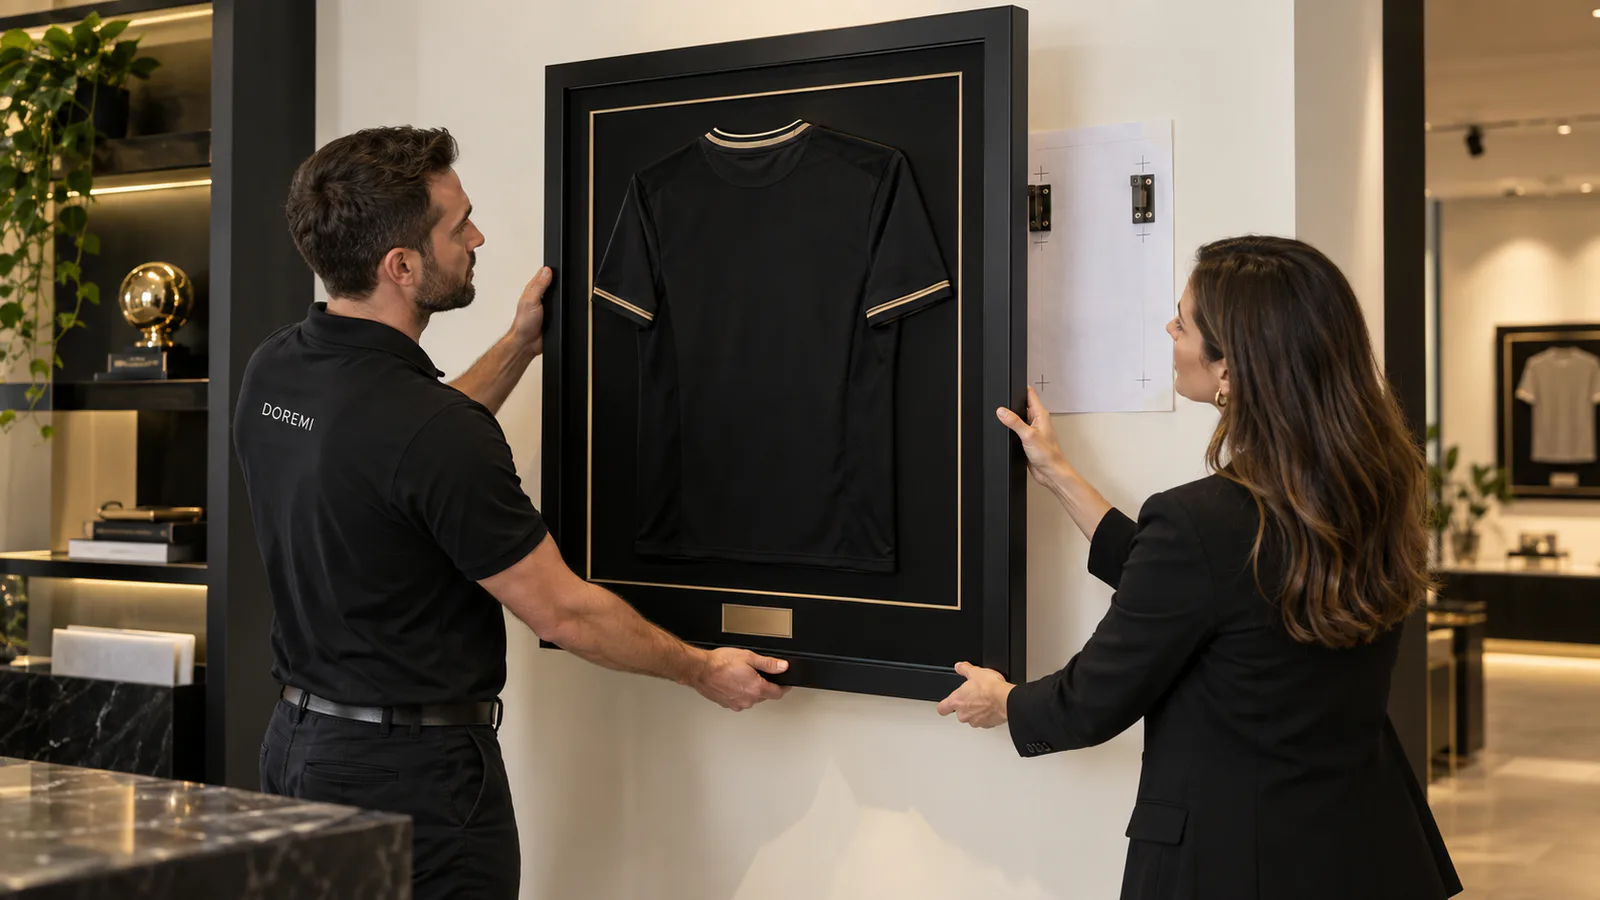
A display frame can look premium from the front and still create a poor or unsafe installation experience. The pack may contain hardware that does not match the frame, an instruction written for another model, a paper template that shifts the hole positions, or a warning that tries to compensate for a design problem. These failures often remain invisible until the consumer is standing at a wall with a loaded frame.
This guide is for private-label brands, importers, sports and recognition programmes, retailers and quality teams buying wall-mounted photo, certificate, jersey, medal and memorabilia frames. It turns product-specific risk, hardware identity and user behaviour into a supplier handover. It does not select fasteners for an unknown wall, assign a universal load rating, approve a warning or replace qualified product-safety, structural, installation and legal review.
Begin with design, not with a warning sheet
CPSC manufacturing best practices describe a safety hierarchy: identify hazards, then seek to eliminate them, guard against them or warn users. Its consumer-instructions guide also says instructions should not compensate for fixable design problems or overly complex procedures. Procurement should apply that principle before artwork begins.
If the hanging points are inaccessible, the back flexes, a bracket can be installed upside down or a heavy door opens during mounting, redesign the product or provide a physical control. A bold warning cannot make mismatched hardware or unstable geometry acceptable.
Define the installed product, not only the empty frame
Record outside dimensions, empty mass, intended contents, maximum approved loaded mass, centre-of-gravity considerations, orientation, opening method and every supplied accessory. A deep jersey shadow box with glazing and a plaque behaves differently from a lightweight poster frame of the same width. A medal display may become bottom-heavy after the consumer inserts objects.
Use a production-equivalent loaded specimen during development. If the consumer supplies the object, define the intended range and the limit the product owner can support. Do not print a capacity copied from a hardware catalogue without considering the complete frame, attachment to the frame, wall interface and installation conditions.
Separate the three interfaces
Review the connection from hardware to frame, hardware to wall, and the complete installed frame under foreseeable use. A strong wall fastener cannot correct a weak attachment to the backing. A secure frame bracket cannot determine whether a customer has masonry, timber stud, metal stud, plaster or hollow board.
Draw the load path. Identify the profile, backing, inserts, screws, rivets, brackets, wire, hooks and wall-side parts. Name which parts are supplied and which must be selected by the installer. Give qualified engineers and product-safety owners the complete system, not a front photograph.
State wall assumptions honestly
Many packages include one fastener set and imply universal use. Instead, decide whether the supplied hardware is intended only for a defined substrate, whether professional installation is required, or whether the user must select suitable fixings for the wall and load. Qualified destination-market advisers should approve the final wording and included hardware.
Avoid generic phrases such as “mount on any wall.” Instructions should help the user identify when the supplied method does not apply and where to obtain competent help. The factory can document product geometry and supplied parts; it should not make legal or structural decisions for every building.
Freeze hardware identity by model and revision
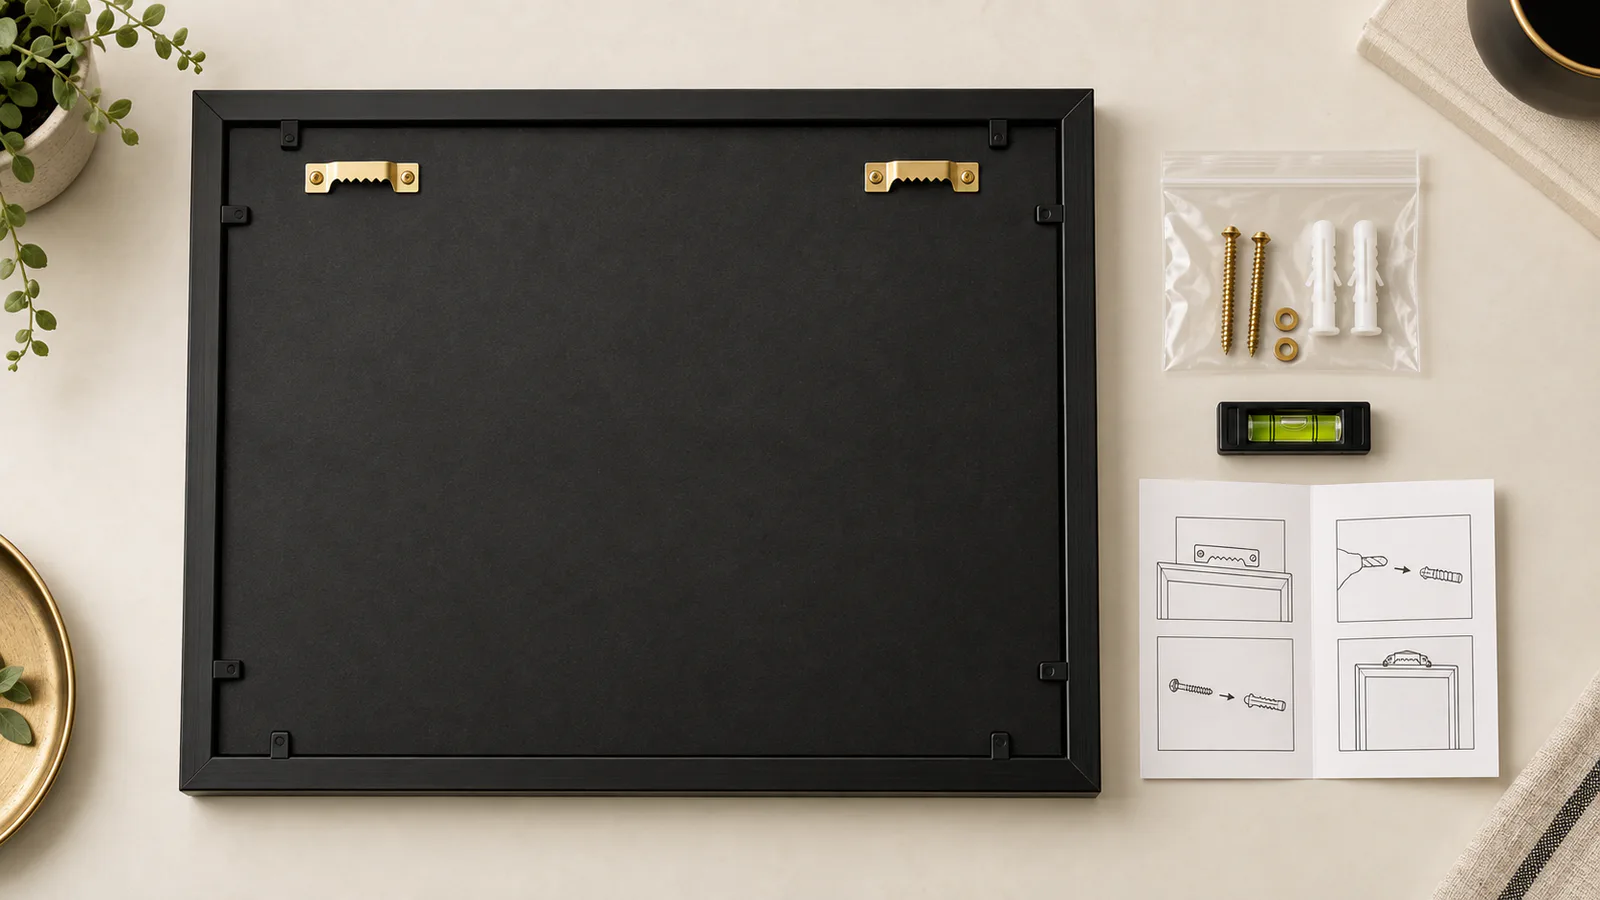
Create a bill of materials for every bracket, D-ring, wire, screw, anchor, rail, clip, washer and restraint. Record material, finish, dimensions, supplier, part number and attachment method. Put a visual reference in the packing instruction so an inspector can distinguish similar parts.
Control substitutions. A screw with the same length but different head, thread or material may not be equivalent. A bracket moved a few millimetres can invalidate a template or change how the frame sits. Require an engineering change notice and qualified reassessment before production uses an alternative.
Do not derive a universal load rating from one component
Hardware suppliers may publish ratings under specific installation and substrate conditions. Those figures do not automatically become the rating of the finished display frame. The weakest interface, dynamic handling, installation variation, wall condition and load position all matter.
Have competent specialists define the verification plan for the actual product and destination. Record specimen, contents, wall fixture, substrate, installation method, loading, duration and acceptance criteria. Keep development tests, supplier data and customer-facing claims separate so a single component datasheet is not presented as finished-product proof.
Write a task sequence before designing the page
Observe the installation in real order: unpack, identify parts, inspect the wall, measure, mark, drill or fit anchors where applicable, attach wall hardware, lift the frame, engage the connection, level it, secure any restraint, load or close the display, and perform a final check. The exact sequence depends on the model.
Turn every decision into one clear step. Do not ask users to infer which orientation is top or which bracket slot receives the hook. If two people are needed for a large frame, state it where lifting begins. If contents must be installed before hanging, explain why and show the safe opening sequence.
Make the instruction match the packed product
Use photographs or diagrams created from the production model and hardware. Show the actual bracket shape, screw count, frame orientation and closure. A generic line drawing reused across a product family can mislead users when one model has a different back or centre of gravity.
Add the model number, instruction revision and issue date in the controlled artwork. Link the purchase order, carton, product label and online copy to that same identity. A QR code can provide video or updated support, but it should not hide information the product owner determines must remain available at installation.
Use warnings only after hazard analysis
CPSC's guide recommends identifying foreseeable hazards that cannot be designed out or guarded against, repeating product safety messages in the manual and avoiding so many warnings that important ones lose attention. Warning content should identify the hazard and the action the user should take.
A qualified product-safety and legal owner should decide signal words, format, language and placement for the target market. The frame supplier should provide the factual inputs: mass, configuration, prohibited orientations, hardware, access and known misuse. Do not paste a warning from another frame simply because both hang on a wall.
Plan for foreseeable misuse and maintenance
Consumers may hang a frame in the wrong orientation, add heavier objects, open it while mounted, pull it during cleaning, reuse old holes or lose a fastener during relocation. Human-factors review considers likely behaviour, not only the ideal sequence. Decide which misuse can be prevented by design and which needs clear limits.
Instructions should address inspection after relocation, loose hardware, damaged backing, changed contents and cleaning around the mount where relevant. Avoid promising a maintenance-free lifetime. If parts can wear or be lost, define replacement identity and customer support.
Design the template from controlled geometry
A paper drilling or marking template must match the real distance between hanging points, orientation and scale. Control printer scaling, trim, folds and package placement. If the template can stretch or crease, verify its accuracy after packing and realistic storage.
Test it against multiple production frames, not only the CAD drawing. Define the allowable positional variation in the frame hardware and the template. If the system needs field adjustment, show how. Never rely on “print at 100%” without a scale check for a downloadable template.
Keep the hardware kit complete and visible
Pack hardware in a sealed, identified compartment away from glazing and finished surfaces. Prevent screws and metal fittings from escaping into the frame cavity. The user should find the kit before lifting the frame and be able to compare its contents with the instruction.
Use a count and visual check at production. If wall fasteners are not supplied because substrate selection is installer-dependent, do not show them as included in product photography. Make the boundary clear on the product page and pack so the buyer can prepare before installation.
Validate with representative users
CPSC and Health Canada human-factors guidance recommends testing and validation using relevant tasks, use scenarios and participants. For a display frame, recruit people who were not involved in the design. Give them the packed product and released draft instructions without coaching.
Observe where they pause, reverse a part, skip a warning, choose the wrong orientation, struggle to lift or misunderstand the final check. Record outcomes and comments without blaming the participant. Revise design, hardware, sequence or content, then repeat the test. A meeting-room review by the project team cannot reveal every usability problem.

Include diverse users and realistic constraints
Consider reach, grip, vision, language, left- or right-handed actions and whether a second person is available. Test the actual frame size and loaded mass in a representative space. A tabletop sample or scaled model cannot reproduce every lifting and alignment challenge.
Where the product is sold internationally, validate translations and diagrams with target-language users. A translated warning may be accurate but disconnected from the diagram or hardware name. Keep terminology consistent across the parts list, steps, carton and support page.
Review accessibility of online support
If the brand provides a video, QR code or web guide, keep the essential model identity and safe sequence clear. Add captions, readable contrast, a transcript and a stable URL. Test the page on a phone in the destination market and verify that the QR code survives the print size and finish.
Plan what happens if the page changes or the product is discontinued. An instruction needed for relocation should remain available for the support period the responsible brand has defined. Archive released versions so customer service can match guidance to an older model.
Make production inspection model-specific
Pre-shipment checks should verify frame model, orientation, bracket position, attachment, fastener identity, kit quantity, instruction revision, template, closure and packaging compartment. Photograph representative backs and packed kits. Use approved drawings and golden samples.
Inspection can confirm visible assembly and identity; it does not replace engineering verification. Quarantine unexplained substitutions or shifted hardware. If a frame is reworked, confirm that the mounting system and instruction still match before release.
Coordinate product page, carton and customer service
The product page should state wall-mount orientation, included hardware, installation responsibility, outside size and loaded-content limits approved by the owner. Carton images and marketplace bullets must not promise universal installation if the manual contains exceptions.
Give customer service a model-level troubleshooting tree and escalation route. Questions about missing hardware, damaged backs, unsuitable walls or increased load should reach the responsible team. Do not improvise alternative fasteners in chat without qualified approval for the situation.
Monitor incidents, complaints and returns
After launch, track falls, looseness, difficult installation, missing parts, template errors, instruction confusion, wall damage and near misses. Capture model, batch, hardware, contents, wall description, installation method and first-information date where available. Preserve evidence and follow the company's incident process.
Qualified legal and product-safety owners must decide reporting, stop-sale, corrective action or recall obligations. A low return rate does not dismiss a serious event. Feed findings into design, supplier control, instructions and support rather than treating each complaint as isolated user error.
Installation-system buyer checklist
- Loaded product, orientation and intended contents are defined
- Frame-to-hardware, hardware-to-wall and complete-system interfaces are mapped
- Wall-substrate assumptions and installer responsibilities are explicit
- Every hardware part has a controlled identity and supplier
- No finished-product rating is copied from one component datasheet
- Instruction sequence uses the production model and actual hardware
- Warnings follow qualified hazard review and do not replace design fixes
- Template scale and hanging-point variation are verified
- Hardware kit remains complete, contained and easy to find
- Representative users complete realistic installation tasks without coaching
- Translations, diagrams and online support remain model-specific
- Production inspection verifies hardware location and instruction revision
- Complaints and incidents trigger documented review
Experience scope and project limits
Editorial review: Jessica, Founder & Project Advisor at DOREMI Display. Updated 16 September 2026. Jessica's practical scope covers B2B display-frame briefs, construction, samples, packaging, production coordination and supplier-to-buyer handover. She is not presented as CPSC, Health Canada, a structural engineer, wall-fixing specialist, human-factors professional, testing laboratory or legal adviser.
This guide is educational sourcing preparation. It does not approve a hanging system, select fasteners for a particular wall, set a load rating, write legally sufficient warnings or determine product-specific requirements. Responsible brands should obtain qualified engineering, product-safety, installation, human-factors and legal review for the exact model, wall assumptions and destination market.
Public sources used for this guide
- Google Search Central: optimizing for generative AI features
- U.S. CPSC: Manufacturer's Guide to Developing Consumer Product Instructions
- U.S. CPSC: manufacturing best practices
- U.S. CPSC: guidance on human factors for consumer products
- Health Canada: human-factors guidance summary
- U.S. CPSC: Handbook for Manufacturing Safer Consumer Products